
Journal · 6 min read
How Weather Changes a Landscape Photograph
Read cloud, rain, wind, and visibility as compositional conditions, with practical ways to adapt when the landscape refuses to match the forecast.
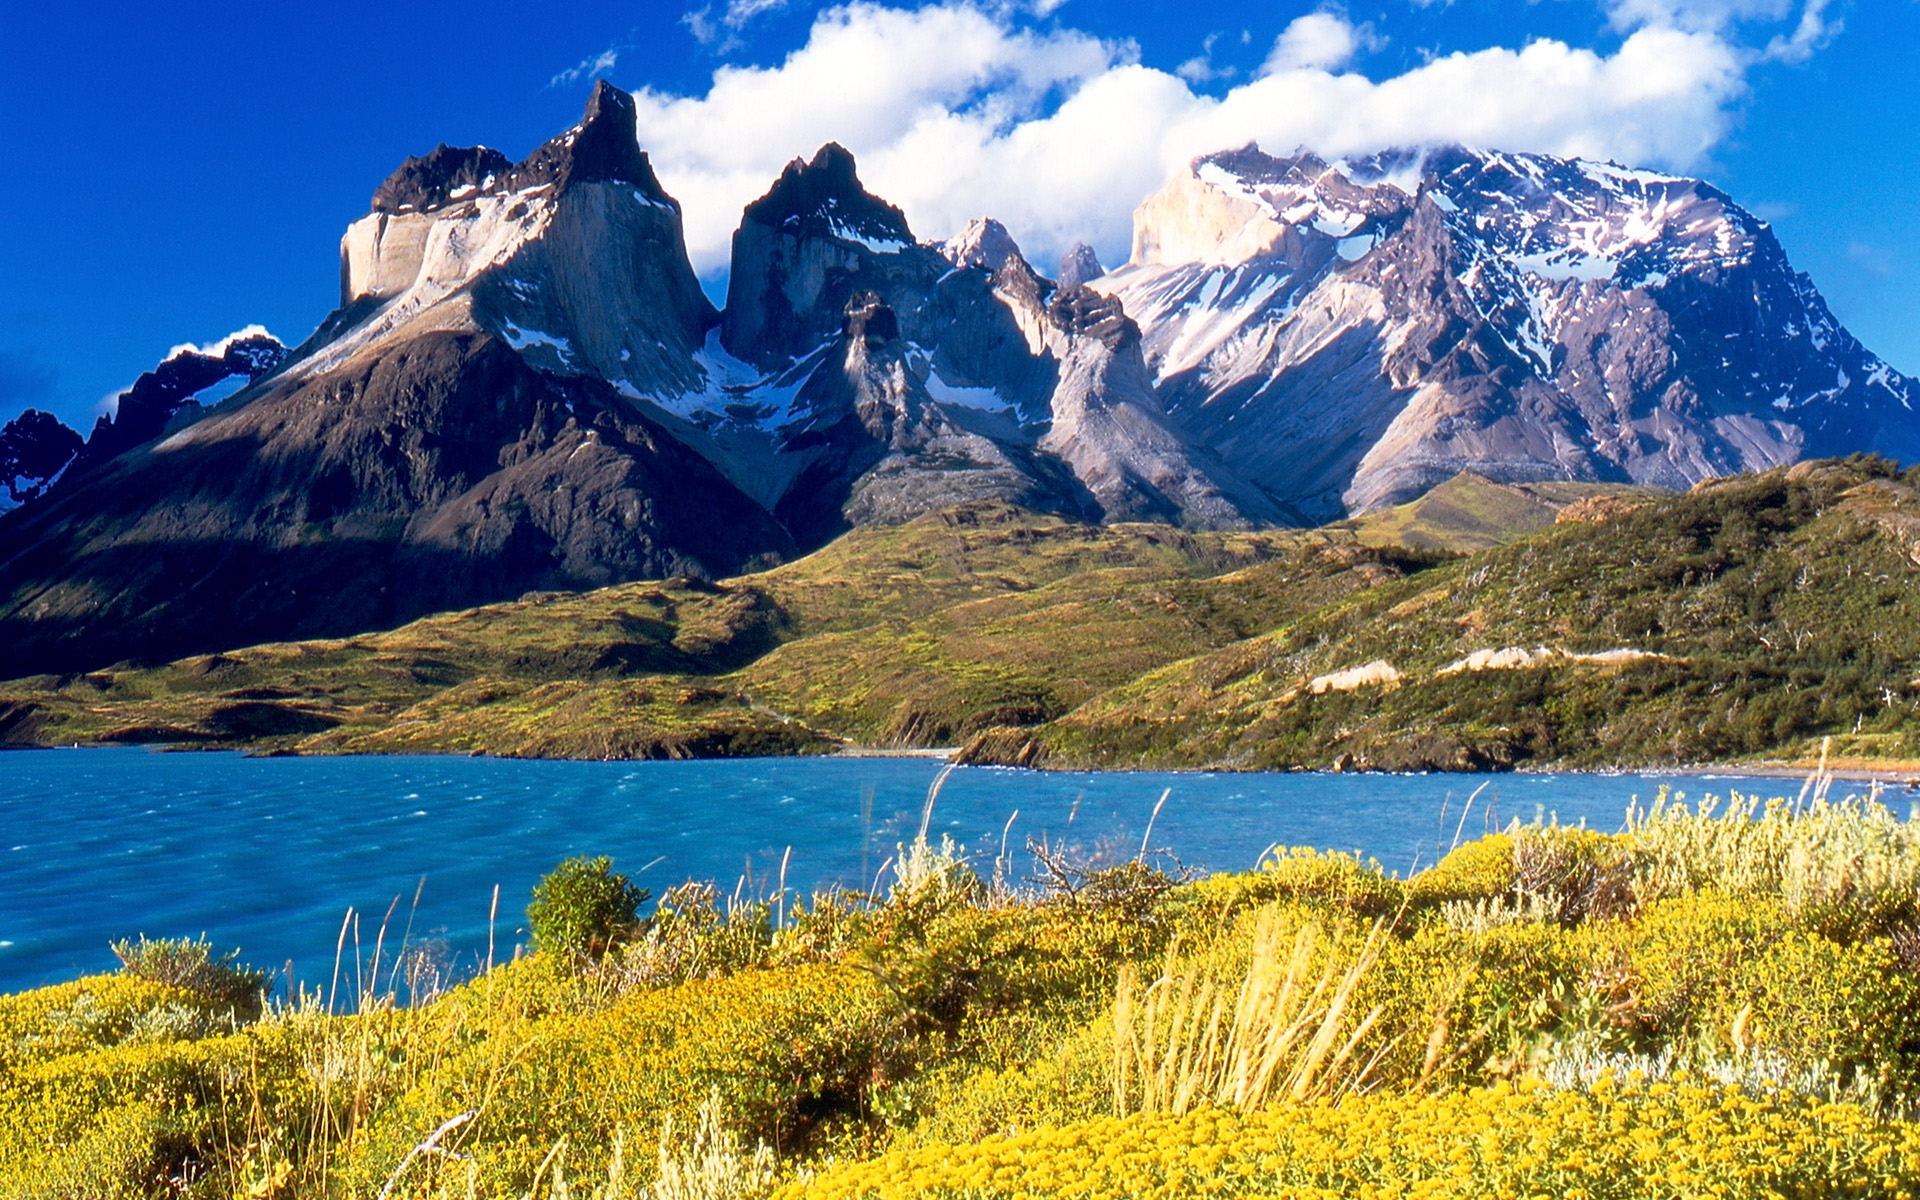
Photo: Jakub Hałun / Wikimedia Commons, CC BY-SA 4.0The mountain has vanished, the lake is no longer a mirror, and the sky looks nothing like the picture that persuaded you to come. This is not an unusual failure of travel planning. It is the landscape behaving like a landscape. Weather changes which parts of a place are visible, how they relate to one another, and whether your original composition still has anything useful to say.
Instead of dividing conditions into good and bad, ask what the weather is doing to the image. Is it simplifying a background, adding movement, hiding the main subject, or making the location unsafe? Some changes invite a new photograph; others call for shelter or a different plan. Learning the distinction is more useful than expecting every forecast to deliver dramatic light at exactly the right viewpoint.
Cloud changes the hierarchy of the scene
Under clear skies, distant shapes can dominate because their outlines remain distinct. Low cloud can reverse that hierarchy, hiding a mountain and making the foreground the most legible part of the landscape. At Reine, the familiar peaks may become partial shapes rather than complete subjects. Look for what remains coherent: a curve of shoreline, buildings against mist, or a small separation between layers of gray.
Broken cloud creates a different opportunity. Moving light can isolate a slope or village while the surroundings stay subdued, temporarily simplifying a complicated landscape. At Lake Pehoé, a patch of illumination may matter more than the overall brightness of the day. Choose a composition with a strong structure before the light arrives, then watch patiently. Chasing every bright patch can leave you continually repositioning without completing a frame.
A fully overcast sky can be useful when you stop asking it to perform as the main subject. Give more space to water, vegetation, rock, or architectural color, and include only as much blank sky as the composition needs. Soft light often reveals surface detail without harsh shadows. The resulting photograph may be quieter than your original plan, but quiet is not the same as unsuccessful.

Rain edits color, texture, and visibility
Wet surfaces often appear darker and richer, while reflections introduce new shapes into paths, streets, and rocks. A passing shower can therefore make an ordinary foreground more interesting. Look carefully at where the reflected brightness goes, because a shiny patch can also become a distraction. Protect your equipment before working, and avoid kneeling or stepping onto surfaces whose grip has changed in the rain.
Rain and mist can reduce distant contrast, producing layers that feel spacious even when visibility is limited. Around Kirkjufell, that might encourage a photograph of water, nearby slopes, and atmospheric separation rather than a perfectly clear mountain portrait. Do not assume every obscured view will improve if you wait. Sometimes the main subject is simply unavailable, and a smaller-scale composition is the more sensible response.
Moisture creates practical problems that can masquerade as artistic atmosphere. Check for droplets on the lens and dry accessible surfaces with appropriate materials. A large blurred patch near the center of the image may be a raindrop rather than beautiful mist. Keep a protected place for dry cloths, work efficiently, and stop if protecting yourself and the equipment is consuming all the attention the photograph needs.
Wind can become the subject, or end the session
A calm lake suggests reflection; wind turns the same surface into texture. At Moraine Lake, ripples may break a mirror image but add a sense of weather and movement. Reconsider the balance between water and mountains instead of treating the missing reflection as a defect. You may need less foreground water, a different edge, or a composition that emphasizes the changing surface itself.
Wind also moves grasses, branches, spray, and clothing. Those movements can communicate conditions more vividly than a dramatic sky alone. Decide which parts of the scene need to remain clear and which can express motion. Avoid adding complexity just to demonstrate that the weather was difficult. One readable sign of wind often tells the story more effectively than a frame full of competing blurred elements.
Strong wind is a safety issue before it is a creative opportunity. Exposed viewpoints, coastal edges, loose equipment, and difficult footing deserve conservative decisions. Do not assume a heavy tripod makes an unsafe position acceptable, and keep loose belongings secure. Check local warnings and leave when conditions exceed your comfort or the site's guidance. Weather does not owe you a photograph in exchange for enduring it.
Plan for change rather than predicting perfection
Read forecasts as a combination of factors: visibility, precipitation, wind, cloud, and temperature. A simple sunny or rainy symbol cannot tell you whether the mountain will be visible or whether a lakeside session will be comfortable. Recheck conditions close to the visit and use appropriate local information. In remote or exposed areas, the practical forecast matters more than an optimistic interpretation of possible photographic drama.
Choose a backup based on the likely limitation. If distant views disappear, look for nearby textures or sheltered subjects. If wind removes reflections, emphasize shape and shoreline. If rain makes access unpleasant or unsafe, move the session rather than forcing it. This is different from having a generic list of alternatives: each backup should respond to the specific thing the weather has changed.
When conditions improve, resist the urge to make every possible photograph at once. Return to one clear composition and let the changing atmosphere contribute to it. Afterward, remember what the weather actually did rather than whether it matched your hopes. Those observations build judgment over time. The landscape becomes easier to photograph not because it grows more predictable, but because your expectations become more flexible.

Build compositions that tolerate imperfect visibility
At Kirkjufell, cloud can remove part of the mountain from view while leaving the waterfall and nearby textures clearly visible. Rather than insisting on the full outline, consider whether the visible slope and moving water form a complete photograph. Keep to the permitted paths and avoid wet edges. Rain can make foreground rock reflective, but a darker, simpler foreground may work better than trying to include every shiny surface. Judge the actual separation of shapes rather than the reputation of the viewpoint.
At Reine, low cloud can simplify distant peaks and make the village more prominent. Look for layers that remain distinct: water, buildings, then a subdued mountain backdrop. If visibility becomes too poor for that relationship, switch to smaller scenes from safe public positions. Do not walk onto private waterfront structures to restore a preferred angle. Weather changes your photographic options, not your access rights, and an intimate detail can describe the conditions more clearly than an almost invisible panorama.
Make a weather decision before handling the camera
Check an official local forecast and any relevant alerts before leaving, then reassess what is happening around you. A rain cover protects equipment from some moisture; it does not make exposed terrain safe in strong wind, lightning, or poor visibility. Follow local guidance and retreat early when necessary. Avoid treating the presence of other photographers as evidence that conditions are acceptable. They may have different experience, different plans, or no better information than you.
When the situation is safe, organize the session so you open the bag as little as possible. Choose a lens under shelter, keep a suitable cloth available, and inspect the front element for droplets before an important frame. Work in short intervals if that helps you keep equipment dry and maintain awareness of your surroundings. Afterward, follow the manufacturer's drying guidance and check your files before assuming that every image survived the rain. Note which conditions improved the picture and which merely made working harder. That distinction helps you choose future weather windows with more intention.
Put it into practice: Iceland's Ring Road in 12 Spots
Spots mentioned in this guide

Lofoten Islands · Norway
Reine Village
Coast · Europe

Grundarfjörður · Iceland
Kirkjufell Mountain and Waterfall
Mountains · Europe

Banff National Park · Canada
Moraine Lake
Mountains · Americas
Torres del Paine · Chile
The Cuernos del Paine above Lake Pehoé
Mountains · Americas