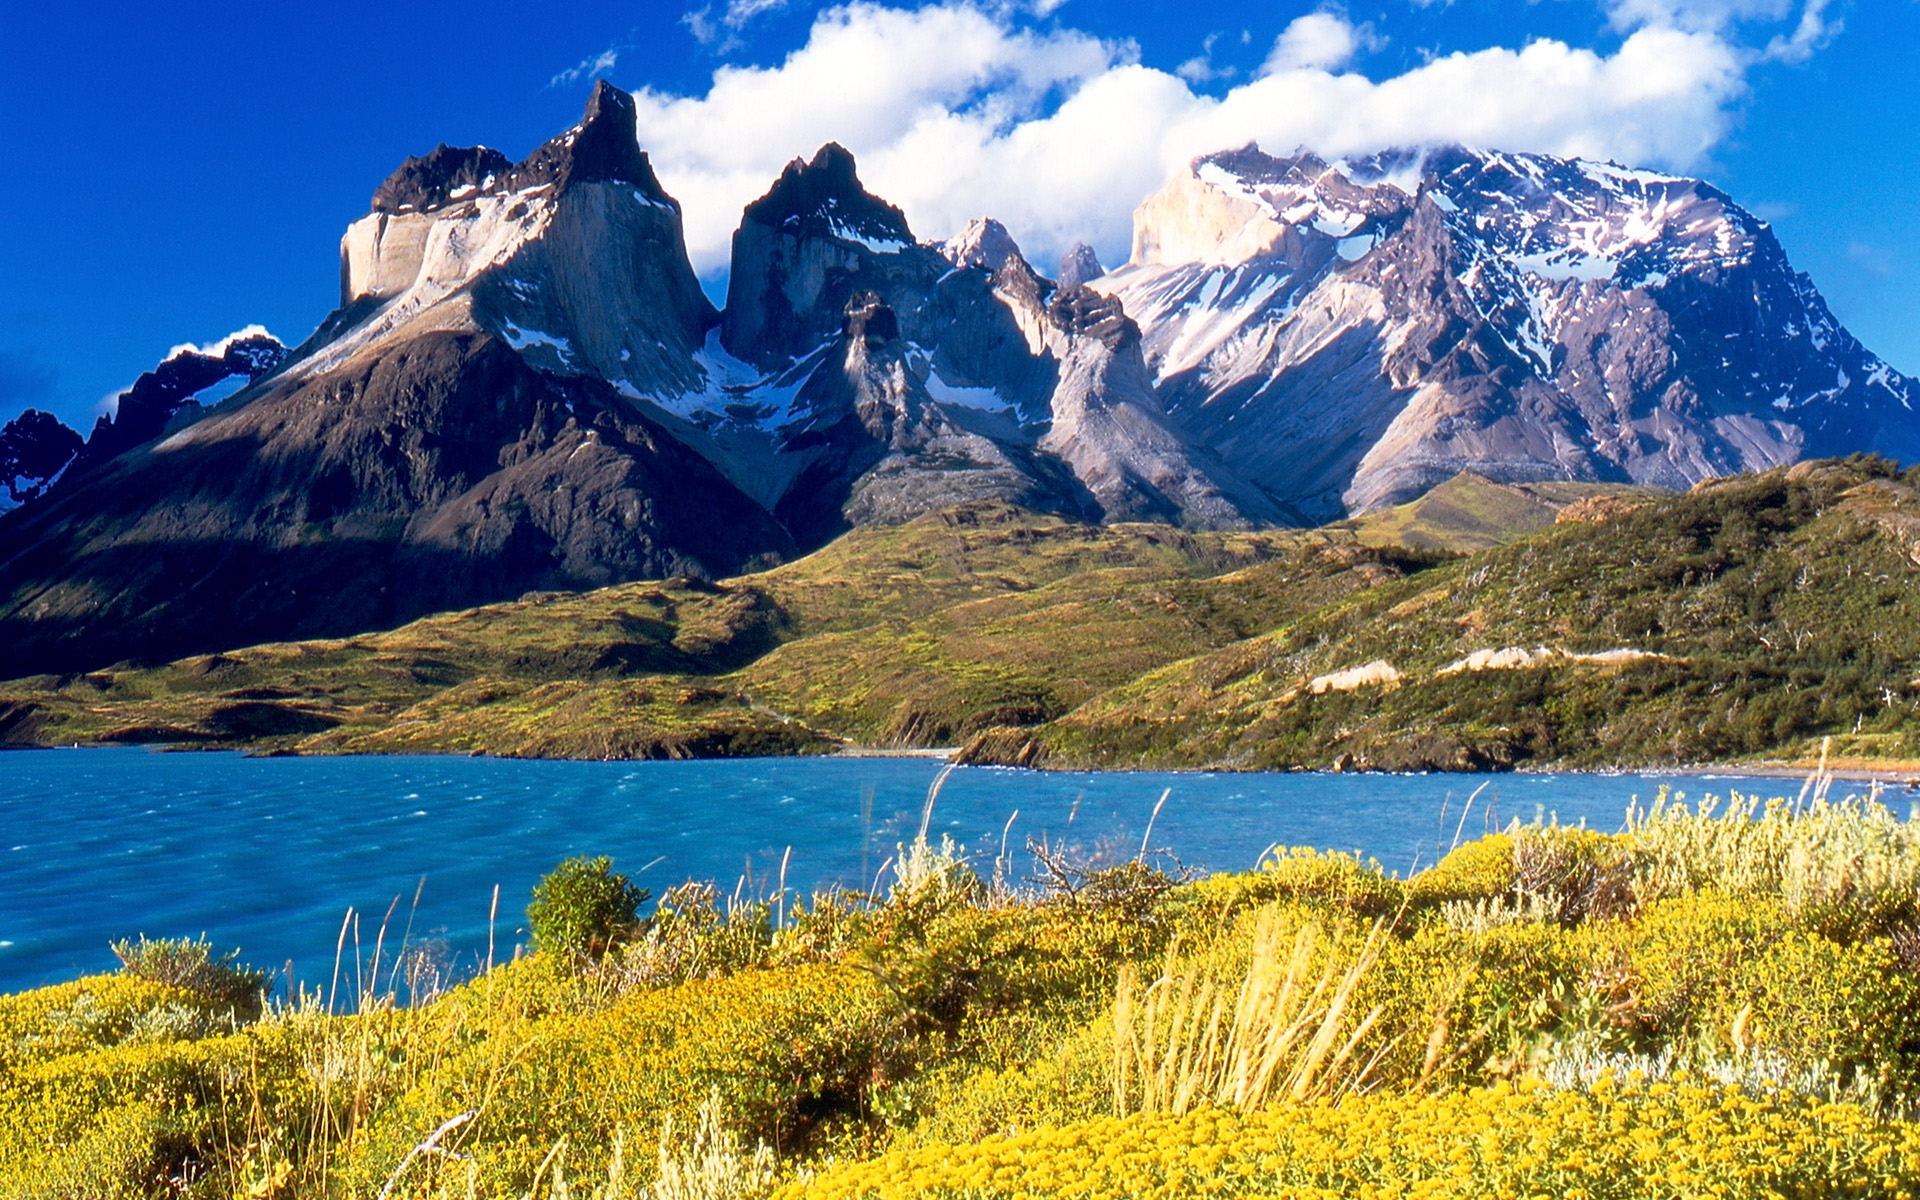
Moraine Lake
Banff National Park · Canada · Mountains
Photo: Chensiyuan / Wikimedia Commons, CC BY-SA 4.0Frame Moraine Lake and the Valley of the Ten Peaks from the Rockpile, with transportation planning treated as part of the photograph.
The Shot
The Rockpile viewpoint gives Moraine Lake its familiar arrangement of blue-green water, forest, and the Valley of the Ten Peaks. Start by balancing the lake against the mountain skyline rather than filling the frame with water alone. A small amount of foreground rock or vegetation can establish depth without distracting from the setting.
Summer sunrise is the classic ambition, when changing light may reach the peaks while the lake remains shaded. Weather, seasonal snow, cloud, and water conditions determine the result. The celebrated color is not a fixed filter applied to every morning, and a quiet, subdued scene can be just as convincing as a brilliant turquoise one.
How to Get It
Personal vehicle access is restricted. Travelers use the Parks Canada shuttle or other permitted transportation, and current arrangements must be checked before making plans. Consult the official Moraine Lake access information for available options, booking requirements, seasonal operation, and relevant restrictions. Do not assume that arriving early allows you to drive in.
A sunrise plan depends on transportation that actually reaches the lake in time; not every permitted option necessarily serves that purpose. Confirm your specific arrangements rather than relying on an old itinerary. Once there, follow the designated Rockpile Trail and current signs. Bring warm layers, suitable footwear, water, and enough flexibility for changing mountain conditions.

Avoid the Crowds
Moraine Lake is a major destination, and early light can attract other photographers with the same idea. Take turns at the clearest viewpoints and avoid claiming a broad section of railing or path with equipment. Have your composition roughly prepared so you can make a few frames without holding a shared position indefinitely.
If the most familiar angle is occupied, look for a permitted variation with a different foreground balance or a tighter relationship between water and peaks. Waiting calmly can also reveal changes in cloud and reflection. Do not leave the trail to manufacture solitude, and remember that transportation capacity does not make the viewpoint private.
Phone Photography Tips
Begin with the main camera, then compare an ultrawide frame if you need more of the mountain arc. The wider lens can make the peaks appear smaller, so check the result rather than assuming more scenery is better. Keep the lake's distant edge level and leave room around summits for later straightening.
Expose for bright peaks or sky and check whether the shaded lake still retains useful detail. A second frame is often safer than aggressive editing. Avoid oversaturating the water, especially when its natural color is subtle in early light. Clean the lens and brace the phone carefully, keeping both feet securely on the designated surface.

Shoot Responsibly
Stay on designated trails and viewing areas, respecting barriers and any temporary closures. Do not scramble onto unstable rocks or trample vegetation to remove another visitor from the foreground. This is protected habitat as well as a famous viewpoint, and small shortcuts repeated by many people can leave lasting damage around a concentrated visitor area.
Follow current Parks Canada wildlife and food-storage guidance, keep your distance from animals, and never feed them for a photograph. Pack out all litter and keep bags close without blocking paths. Plan your return transportation as carefully as your arrival, leaving enough margin that a last photograph does not create a rushed or unsafe departure.
Choosing a Rockpile View
The Rockpile Trail provides the elevated perspective most closely associated with Moraine Lake. From authorized viewpoints along the trail, the lake leads toward the Valley of the Ten Peaks, with trees and rock adding foreground structure. Follow the constructed route instead of climbing across shoreline logs to imitate an older approach. When you reach an open viewing position, choose the mountain group you want to emphasize before deciding how much foreground to include.
A slight change in position can remove an overlapping branch or let a shoreline curve lead more cleanly into the picture. Make those changes only within the permitted viewing area. Avoid balancing on an exposed rock for a few extra inches of height. If the main platform is busy, take a considered frame and allow others room, then explore another open trail viewpoint. You can build a varied series without occupying one location for the entire period of good light.
What Sunrise Actually Changes
Early light can touch the peaks before the lake surface brightens. This gives you a mountain photograph with a relatively dark foreground rather than an instantly luminous turquoise lake. Protect the detail in the sunlit rock and allow the water to remain subdued. As daylight reaches more of the scene, the color balance changes. Make a second photograph later if your transport plan allows, since the relationship between mountain light and water color may be more interesting than one isolated moment.
The lake's appearance depends on light, season, suspended glacial sediment, and surface conditions. It does not look equally vivid on every date or under every sky. Cloud can mute the color, and wind can break a reflection that was clear a few minutes earlier. Seasonal road access also limits when most visitors can reach the area. Do not plan a shoulder-season trip around an online photograph without checking whether the route and your chosen transport are actually operating.
Foreground and Mountain Detail
Begin with a horizontal frame that gives the peaks space and lets the shore describe the lake's shape. Follow it with a vertical composition connecting a permitted foreground feature to the distant mountains. Check that nearby trees do not conceal the most important summit. A normal focal length may give a more balanced result than an ultrawide view, which can make the lake appear expansive while reducing the peaks to a thin line across the top.
A longer lens can isolate bands of rock, lingering snow, or changing cloud along the mountains. This is useful when wind makes the lake less photogenic or when the wider scene is crowded with foreground distractions. Focus carefully and check the image for camera movement, especially in cool early conditions. If you use a polarizing filter, compare its effect at different strengths. Removing every reflection can make the water look unnaturally flat and erase an important part of the scene.
Transport and Mountain Safety
Moraine Lake Road is closed to personal vehicles, with limited exceptions described by Parks Canada. Access generally requires a suitable authorized transport arrangement rather than an early drive to claim parking. Check the official Parks Canada information for current shuttle reservations, permitted alternatives, seasonal operation, and any accessibility provisions relevant to you. Confirm your departure point and return plan before booking accommodation or promising yourself a sunrise session, since not every transport option serves the same hours.
Bring warm and waterproof layers, drinking water, and enough food for your planned visit. Mountain weather can change while you are concentrating on the view, and cell coverage should not be your only safety plan. Stay on designated trails, follow posted wildlife guidance, and keep food secure rather than leaving a bag beside a tripod. Allow a comfortable margin for the walk back to your transport. Missing a return arrangement is not a sensible trade for one more exposure of the same mountain light.
Access rules change. Check current official information before you go: Parks Canada: Moraine Lake access