
Journal · 7 min read
What to Pack for a Photography-Focused Trip
Build a manageable kit around your route, weather, and favorite subjects, with room for the everyday essentials that keep a photo trip enjoyable.
Photo: Franz van Duns / Wikimedia Commons, CC BY-SA 4.0Lay everything on the bed and the problem becomes obvious: you have packed for every photograph you might conceivably make, rather than the trip you are actually taking. The spare lens promises flexibility, the second support promises stability, and the collection of small accessories promises preparedness. Together they can turn an easy walk into a negotiation with your bag before the light has even become interesting.
A useful photography kit is the one you can carry comfortably, protect sensibly, and operate without constant unpacking. Start with the route and the conditions, then add equipment with a clear job. The aim is not to win a contest for traveling light. It is to keep enough energy and attention available for walking, waiting, looking, and enjoying the place beyond the photographs you hope to bring home.
Pack for the day you have planned
Write down the main kinds of photographs on your itinerary. A city weekend centered on Lisbon viewpoints asks different things of a bag than a weather-exposed journey through Iceland. Architecture, distant mountain details, evening streets, and long walks may each suggest a particular tool, but they do not automatically justify carrying everything together. Distinguish between what belongs on the trip and what needs to leave your accommodation each day.
Choose one primary camera setup, whether that is a phone or a camera with a familiar lens. Add another lens only when you can name a likely use that the first option cannot handle well. At Reine, you might value both the village within its setting and tighter mountain details. That is a reasoned choice. Packing an unfamiliar lens merely because the destination looks spectacular is less convincing.
Test the loaded bag before departure by walking with it and taking out the equipment you expect to use most. Can you reach the camera without putting everything on wet ground? Does the strap become uncomfortable? Can the bag fit where your transport requires it to fit? These ordinary questions matter more during a long travel day than a beautifully organized collection that works only on a bedroom floor.

Put weather protection ahead of another accessory
Clothing is part of the photographic kit because waiting changes how conditions feel. A walk that keeps you warm may be followed by a long stationary session at Lake Pehoé or a windy Icelandic viewpoint. Bring layers appropriate to the forecast and season, with protection from wind and rain where needed. No camera feature compensates for being too cold or uncomfortable to think clearly about a composition.
Carry a practical way to protect equipment from rain and spray, plus suitable cloths for drying accessible surfaces and cleaning lenses. Keep a dry cloth separate from one already soaked with water. At Kirkjufell, photographing around the waterfall can introduce moisture even when rain is not the main issue. Protect the kit before it becomes wet rather than assuming you can deal with everything afterward.
Footwear should match the route, not the photograph you want to appear in. Uneven paths, slippery surfaces, and extended standing can make unsuitable shoes a much bigger problem than a missing lens. Sun protection, water, and any personal medication also belong ahead of optional camera accessories. In hot or exposed places, those basics determine whether the day remains comfortable enough for photography to stay enjoyable.
Make power, storage, and support boringly reliable
Bring enough power for the way you actually use your devices. Navigation, translation, tickets, and photography may all depend on the same phone, so a long shooting session can affect more than your pictures. Keep charging cables organized and check that your charger suits your destination. If flying with spare batteries or a power bank, consult current airline and aviation rules for the items you intend to carry.
For a camera, use familiar memory cards and keep a clear distinction between cards ready to use and cards containing photographs. Avoid making the only copy of important images disappear through an impulsive cleanup in the field. Choose a backup approach you can maintain while traveling, then verify transfers. A simple routine you perform consistently is better than an elaborate system you abandon after the first busy evening.
A tripod earns its place when you expect conditions or compositions that genuinely benefit from it and when its use is allowed. Otherwise, its size and weight may outweigh its value. Check site rules before packing it around a particular attraction. Never assume a small tripod is exempt from restrictions, and do not create a trip hazard on a crowded path just because the evening light looks promising.
Build a small field kit, then remove the duplicates
Keep frequently needed items together: a lens cloth, rain protection, a spare power option where appropriate, and any essential personal supplies. A light can be valuable for a planned dark approach or return, but it does not make an unsuitable route safe. Carry navigation appropriate to the place and save useful information offline when coverage may be limited. Know how to use what you pack.
Remove overlapping items unless they solve a real reliability problem. Two similar bags, several nearly identical focal lengths, and multiple rarely used accessories often add decisions rather than capability. Leave some room for clothing and water instead of filling every gap with equipment. A bag that closes only after careful rearrangement will become frustrating when you need to pack quickly in changing weather.
After the trip, note what you used, what you missed, and what you carried without a clear purpose. Do not judge an emergency item solely by whether you needed it, but be honest about speculative photographic extras. Your ideal kit should gradually become specific to your habits. The reward is not just a lighter bag. It is arriving at the next viewpoint ready to look rather than ready to reorganize.

Pack around the transfer, not just the viewpoint
A bag that feels manageable in a hotel can become awkward on stairs, crowded transit, or a steep walk. Before departure, carry the loaded kit on an ordinary walk and practice retrieving the camera without putting everything on the ground. Check that zippers close securely and straps do not hang where they can snag. For a city session at Charles Bridge, a compact setup that stays close to your body may be more useful than a large bag containing a lens for every hypothetical situation.
For a hike, give drinking water, weather layers, navigation, and other appropriate safety essentials priority over optional photographic equipment. The correct list depends on the route, season, and your experience, so consult the responsible local outdoor authority rather than treating a camera checklist as hiking advice. Keep the bag balanced and leave enough room to repack damp items without pressing them against electronics. If carrying the equipment changes your ability to complete the walk comfortably, reduce the equipment or choose another outing.
Rehearse a simple failure plan
Decide what you will do if one item stops working. A phone can provide a useful record when a camera battery fails, but only if you have reserved enough power for it. A second memory card helps only if you know where it is and how to change it without exposing the open camera to rain or blowing grit. Practice unfamiliar controls at home. The purpose is not to predict every failure, but to avoid turning a minor problem into a stressful field repair.
After each day, separate used and unused batteries or cards with a system you can recognize without guessing. Confirm backups before deleting anything, and do not format a card merely because a transfer appeared to start. Let cold equipment acclimate carefully when returning to warm, humid interiors, following the manufacturer's guidance for your gear. Finally, write down what remained unused and why. Removing a genuinely unnecessary item on the next trip can improve your photographs by making the useful equipment easier to carry, reach, and operate.
Put it into practice: Iceland's Ring Road in 12 Spots · Two Days, Ten Frames in Lisbon
Spots mentioned in this guide

Lofoten Islands · Norway
Reine Village
Coast · Europe

Grundarfjörður · Iceland
Kirkjufell Mountain and Waterfall
Mountains · Europe
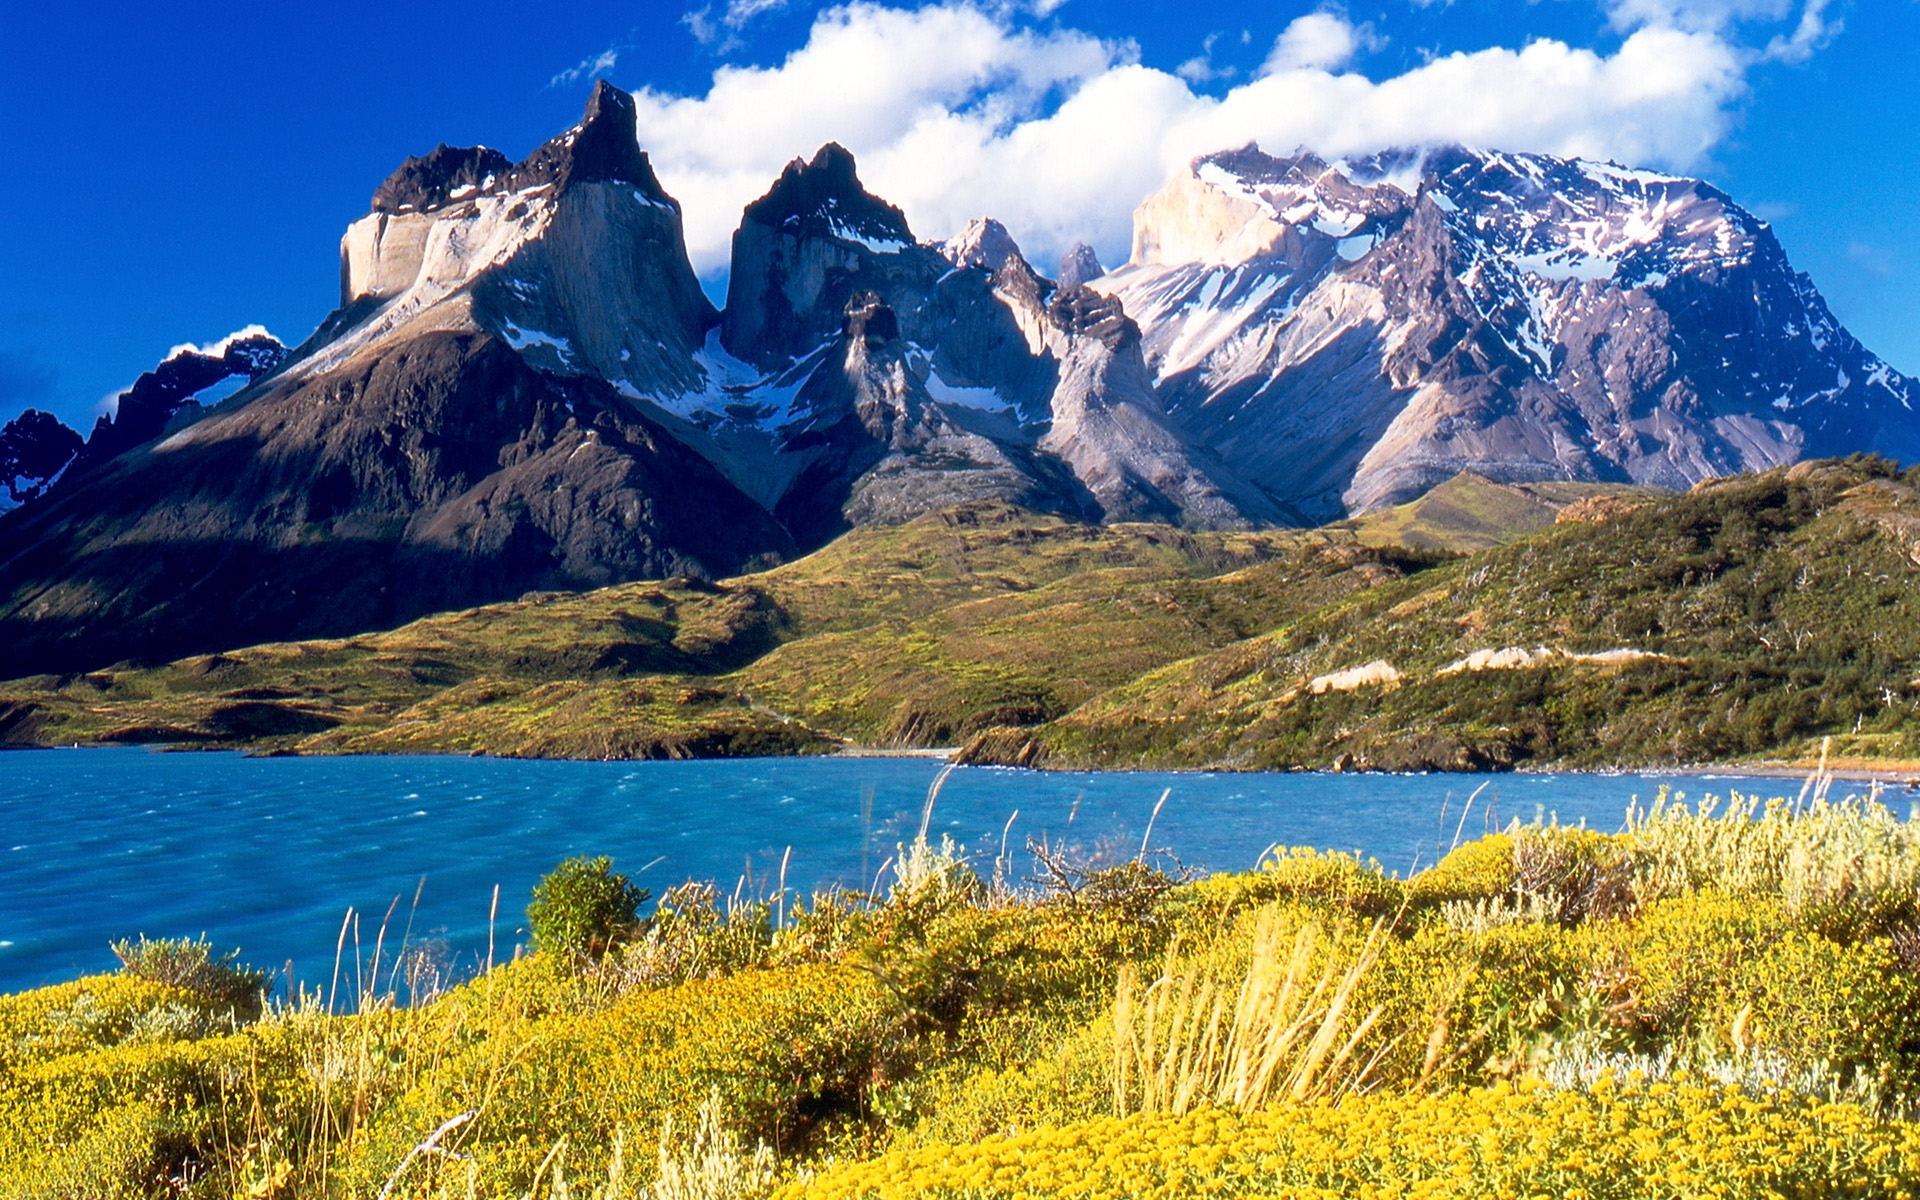
Torres del Paine · Chile
The Cuernos del Paine above Lake Pehoé
Mountains · Americas

Lisbon · Portugal
Senhora do Monte Viewpoint
City · Europe